08. Luminosity Gradients
08. Luminosity Gradients
Introduction to pixel shaders
Welcome
Welcome
Goodbye
Goodbye
🔗 References
Shader Template (using Three.js v.180.0) - May 2026
https://codepen.io/ilithya/pen/wvOLPZr
🎥 Transcript [20:12]
Luminosity gradients [00:00]
Let's talk about luminosity gradients. Now that we started with our first hello world with pixel shaders, with a simple block of color, it's time for us to also start learning of how we could start making not only a block of color but maybe a gradient. And for that I wanted to talk about luminosity gradients.
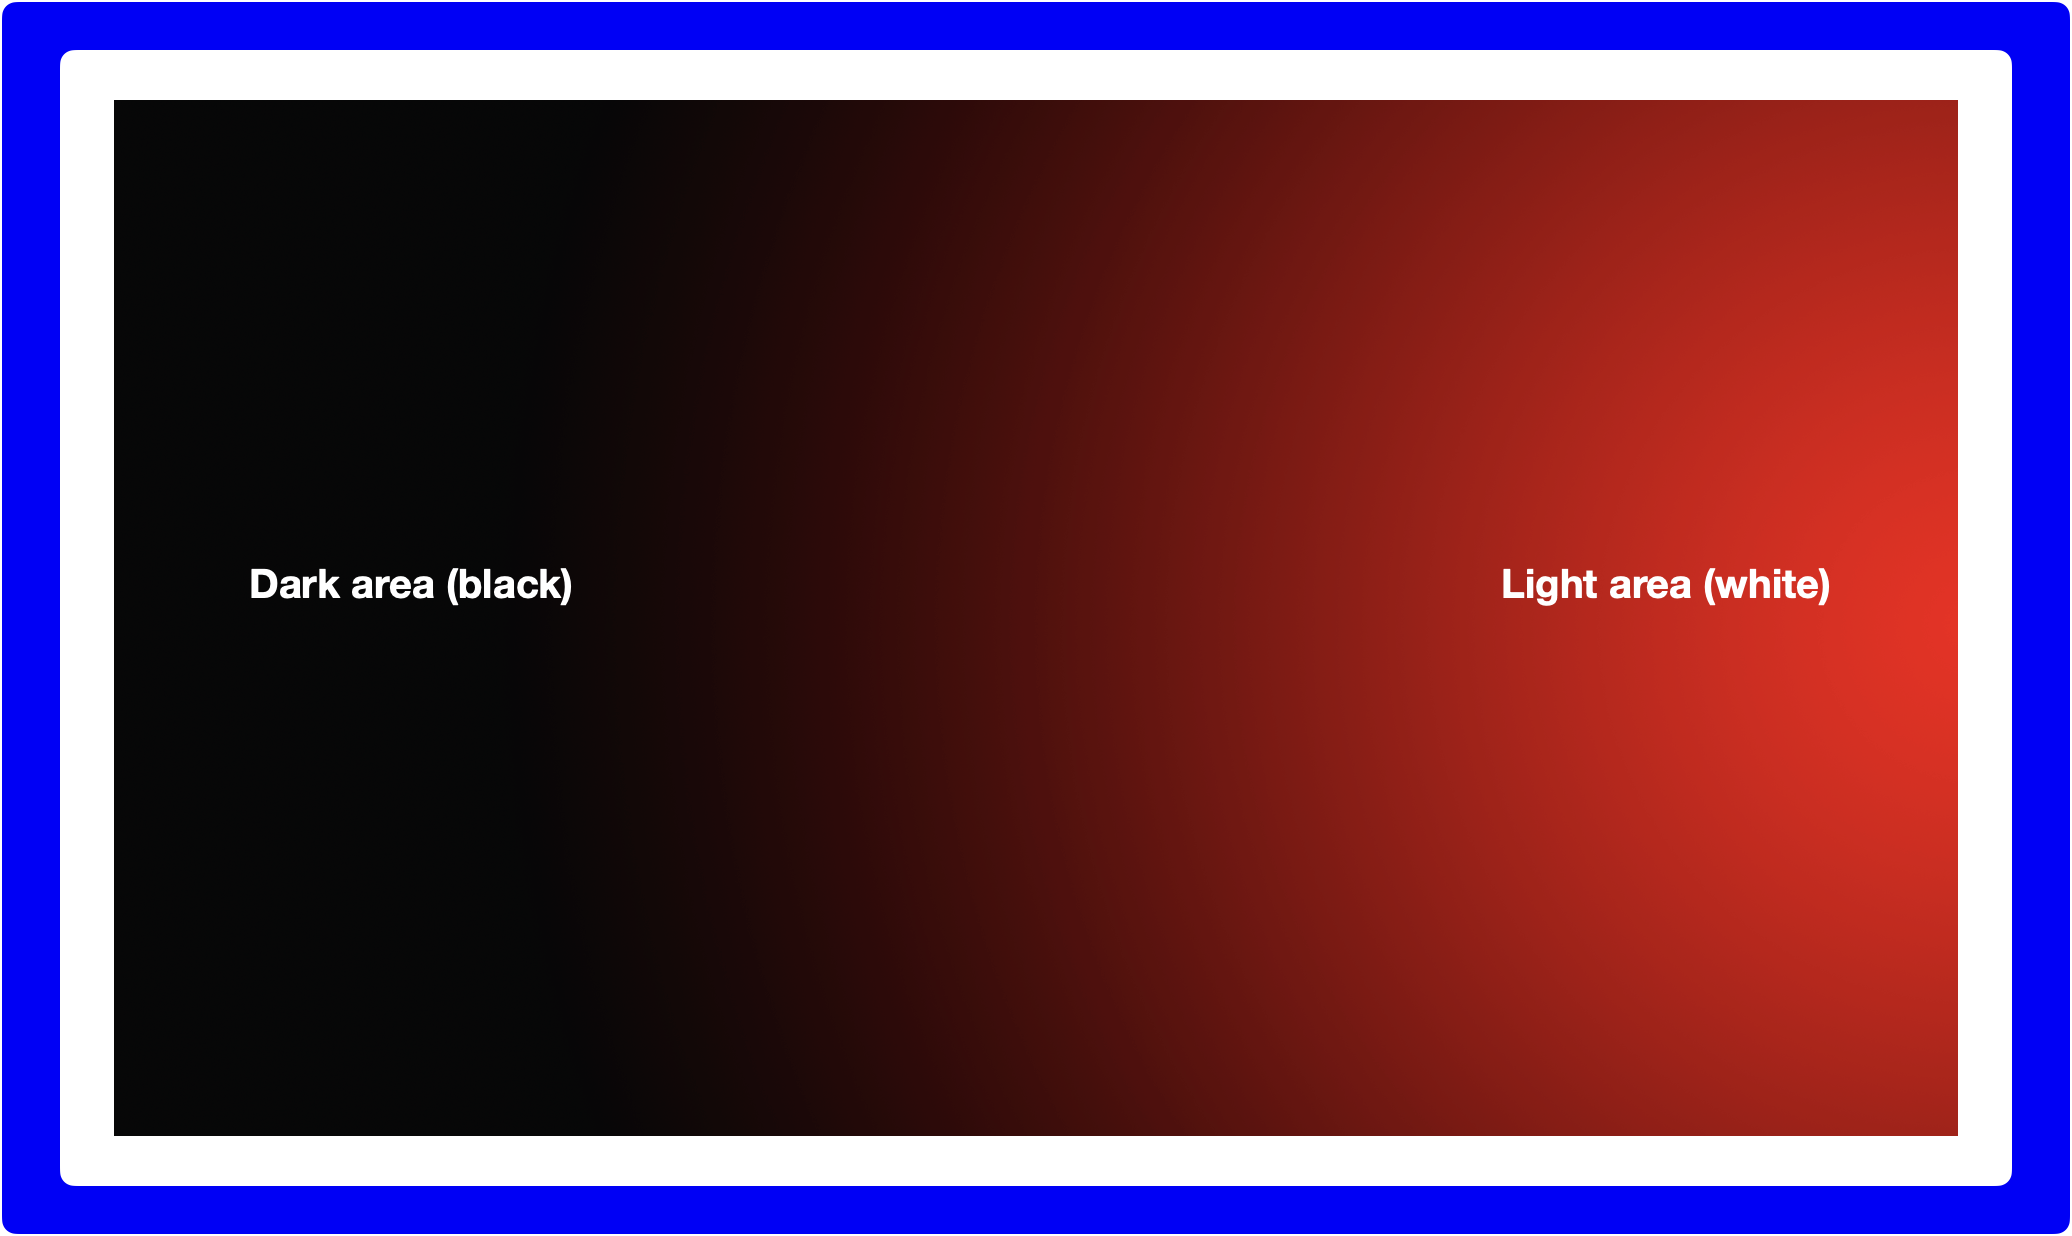
Color luminosity means that a block of color has light reflected or darkness in it. Here in the background for example, I have this example of a gradient going from black to red, which means that where we see black there's probably no light and it's darkness. And where we can actually see the red is where we have some light. And this is how I also want you to start thinking about when you want to create gradients with pixel shaders. Think about having that beam of light where you decide to create a certain color.
Let's stick with red, green, and blue for now. And then let's say that you wanted to create a gradient in there. Then you can think of like, shining some light on top of that beam of light, and wherever you put the focus of that light in that block of color, you're going to see more of it. But if you decide to put less of that light in a part of your color, then you're going to have darkness.
Pixel (fragment) shaders template [01:35]
Let's jump into the template to understand better in code how this would be translated. Here again is our template from CodePen, the one that we were using before and you can see here the color that we had, which was red. Let's sit on it, and think for a minute, how could I then for example with this block of color suddenly have this light or darkness that I was talking about.

Remember that the first variable that we have previously defined here in our void main() is a uv, and you saw that in a former video where I was explaining each of the syntax that we are going to see in our pixel shader template... I didn't talk about it in the previous video, but now we can talk a little bit about the uv again, because we can start using it, especially to create our gradients. Remember that our uv is a space that we have here in our screen of our pixels. It is defined by the coordinates of the screen that we have, and then as well by the resolution that we have or defined ourselves.
/* GLSL */
uniform vec2 u_resolution;
/* ThreeJS (JavaScript) */
// Defined uniform with desired name
u_resolution: { type: "v2", value: new THREE.Vector2() },
// Resolution assigned to uniform based on viewport size
// Current screen width (adapts to horizontal window resize)
uniforms.u_resolution.value.x = renderer.domElement.width;
// Current screen height (adapts to vertical window resize)
uniforms.u_resolution.value.y = renderer.domElement.height; In this case we are using this uniform for the resolution, and we can see here we have previously defined that resolution on ThreeJS, so that we get the space that we have to play around. Remember as well that, I said that we were going to be using a normalized and centered uv that is going to oscillate between -0.5 and 0.5, most likely in the shaders that we are going to be creating, because I like to keep a 0 on the center, thinking about the coordinates.
But also in the template for now, I kept as well a uv defined without having any aspect ratio, and also it doesn't change the coordinates from -0.5 to 0.5, but it stays in the coordinates from 0 to 1 that is the default of GLSL, if you see here even in the little equation that it's much smaller than the other one.
/* Normalize our screen coordinates between 0.0 and 1.0 */
vec2 uv = gl_FragCoord.xy / u_resolution;
And maybe for now let's keep this uv, because we actually don't need an aspect ratio yet, since we're not going to draw shapes. We're just still going to stay in the color world of pixel shaders.
Coloring with UV coordinates [04:19]
Let's try to use this and see why it's going to be valuable to define our screen space as a uv in our pixel shaders. Let's say that instead of the 1.0 here, that it was our RGB 100%, 0%, 0% values, instead of giving 100% on the red [channel], let's say that I use actually, one of those coordinates that I created from the space, that I have available in my pixel shader, and let's say that I grab the X coordinate and let's see what happens on screen.
/* Red: RGB - 100%, 0%, 0% */
vec3 color = vec3(1.0, 0.0, 0.0);

/* Gradient from black to red horizontally */
// Black (darkness) on the left, red (lightness) on the right of the screen
vec3 color = vec3(uv.x, 0.0, 0.0);
You see that actually I'm getting that kind of gradient going from black to red, that I had in my slide before, and this is because instead of using a 100% value for my red channel in the pixel shader, I'm saying use the X coordinate instead and paint along that X coordinate red. Our X coordinate goes horizontally from left to right, that's why we see black at start, because you see in line 17, I wrote a comment that the way that we're normalizing our screen coordinates with this equation of the gl_FragCoord divided by the u_resolution gives us screen coordinates between 0 and 1, so that means that 0 starts from the left, and then to the right we have 1.0.
Darkness in color [05:56]
And remember I was mentioning as well, talking about luminosity, and how we can start thinking about reflecting light into that color. Well since our X coordinate goes from 0 to 1, and if we translate that 0 into let's say a color, what is 0? When we have 0 in the three channels: red, green, and blue, we have darkness. We have nothing, it's black. That it's equivalent to even in the 8-bit RGB color model... it would be (0, 0, 0) to have black.
Lightness in color [06:36]
What happens when we want light? When we want white? It's about putting the three channels together, so then we would have a 100% value in red, green, and blue, and when we do so, we have white.
Color spectrum with lightness and darkness [06:51]
We can start thinking [of] associating that whenever we have a 100% value, we have light. And then when we have 0%, we have darkness. We can then think that, if I had only the uv.x coordinate on the red channel and I know that it oscillates from 0 to 1, 0 it's black, because it's where dark next lies, and the more I go towards 1.0, it's gonna shine some light, and this is why I see the red in here.
Let's try it on the blue channel instead, for example, and do the uv.x coordinate in there. It's going to be the same, it starts from black, because we are oscillating from 0 to 1, and then to blue.
/* Gradient from black to blue horizontally */
// Black (darkness) on the left, blue (lightness) on the right of the screen
vec3 color = vec3(0.0, 0.0, uv.x);
Now just to show you, to keep wrapping our heads about this, using as well the space to create some gradients of color with pixel shaders. Let's choose the other uv defined, where I moved the coordinates from -0.5 to 0.5, and also I have an aspect ratio.
/* Center and normalize our screen coordinates between -0.5 and 0.5 with aspect ratio */
vec2 uv = (gl_FragCoord.xy - (u_resolution.xy * 0.5)) / u_resolution.y;
You see how the gradient is a little bit different here, now the black is not only, like, in the beginning of it horizontally, but we see actually more darkness here, and less blue, given that we have 0 in the middle, and then whatever is below 0 it's of course as well darkness, so then we don't see a block of color, that's why.
For now let us stay here. Now, this is when also you can start thinking a little bit of mathematics when you're doing shaders. Maybe let's go back to this one, so I show you what I mean. Let's say that we have darkness here, and let's say I want to stick with this kind of gradient with black and blue, but I want to see a little bit more blue on my screen, like when I was defining the other uv that has the coordinates between 0 and 1.
In here I could add maybe 0.5 to that, and that is gonna push my coordinate system a little bit towards the light. Then I see a little bit more blue, because I'm pushing everything a little bit more on the plus side, so that I have that close to 1.0, 100% light.
/* Gradient from black to blue horizontally */
// Black (darkness) on the left, blue (lightness) on the right of the screen
// Adding 50% more light on screen (closer to 1.0 in the x coordinate)
vec3 color = vec3(0.0, 0.0, uv.x + 0.5);
I'm gonna go back to the other uv, so you see what it happens here, if I push that, I even see like, less of a gradient now. Less black, because I'm really pushing more light, but in this case I had a coordinate of 0.0 to 1.0.
I'm going to lower, for example here, the number and push less my coordinate system, and then I can see a little bit more black again.
/* Gradient from black to blue horizontally */
// Black (darkness) on the left, blue (lightness) on the right of the screen
// Adding 25% more light on screen (closer to 1.0 in the x coordinate)
vec3 color = vec3(0.0, 0.0, uv.x + 0.25);
If I remove it completely, as it follows before, then I see a little bit more of black in the beginning and then slowly fading.
This is how we can play with the luminosity, we can also try it in the green channel, and see how it is in there. It'd be basically the same, starting with black and then slowly we see green.
/* Gradient from black to green horizontally */
// Black (darkness) on the left, green (lightness) on the right of the screen
vec3 color = vec3(0.0, uv.x, 0.0);

/* Gradient from black to green vertically */
// Black (darkness) at the bottom, green (lightness) at the top of the screen
vec3 color = vec3(0.0, uv.y, 0.0);
Now what happens if we use the other coordinate? The Y coordinate, the one that it's vertical. Let's try that. If I use the Y coordinate, you can see that it's still migrating, oscillating from darkness to light, but instead of being horizontal, vertical, because now I'm using that coordinate space to draw in my pixel shader, and we see the black at the bottom, because now we can also start seeing by tweaking the colors with the code, that our 0 coordinate of the Y, starts at the bottom. That's why it's darkness then. And then the 1.0 is at the top, that's why we see it above.
And if we go back again just to test the other way of defining the uv where it was oscillating in -0.5 to 0.5, we still see our gradient from black to green, but now we see more darkness again, because the 0 now it's in the middle. And everything below 0 is still darkness, and above there is light, but we have much less light here, because it goes until 0.5.
Let's go back to the other one, and do another test, maybe again in the red channel with the uv coordinate, and see that our gradient goes then from bottom to top.
/* Gradient from black to red vertically */
// Black (darkness) at the bottom, red (lightness) at the top of the screen
vec3 color = vec3(uv.y, 0.0, 0.0);
Another thing that we can test right now, is that maybe you were wondering why? What happens if maybe I don't want to use a coordinate like X or Y? Why? What if I want to use both of them in the red channel? Like let's say just the uv which means that this is equivalent to having X and Y. What happens? Am I going to have some kind of gradient? Well actually, we don't see anything, because nothing is happening, and this is actually an error. We cannot do that, because all of these three values that we have in this vec3, they have to be floating point numbers. And if I put both coordinates, that is no longer a floating point number but it's two, I'm giving it two values, so this would be equivalent to having here inside a vec2 of uv.x and uv.y and I cannot do that, because the red channel only takes one value. This is the reason why to make this gradient, we have to take one of the coordinates. We have to decide which one it is.
Now, let's say as well, in here we can even play with that purple color that we had earlier. Let's see what happens, if I have purple. And let's say that I want to start thinking of making a gradient here, so I can imagine that maybe I can try inserting that coordinate, whether I want my gradient to be horizontal or vertical, maybe on the red channel, so instead of 0.5, I could put the X coordinate again, and see what happens.
/* Purple: RGB - 50%, 0%, 100% */
vec3 color = vec3(0.5, 0.0, 1.0);

/* Gradient from blue to purple horizontally */
// Blue (darkness) on the left, purple (lightness) on the right of the screen
vec3 color = vec3(uv.x, 0.0, 1.0);
And then I see, oh, okay, yeah, I get a gradient, but somehow it no longer starts from black. There's no black and red anymore, but I see blue going to purple, why is this happening? Well, because we no longer have 0 values in the green and blue channels. Now we actually have as well a block of color on the blue channel. That means that the darkness that we had that it was black before, now it takes and absorbs this blue light, that we see. And on the red side, and I'm going to put 0 for a moment, so that you remember, we had... by using the uv.x coordinate in the red channel, we had black and red, but if we insert a 100% blue as well, in our mix of color, now we see that color in the darkness rather in the lightness.
Coloring with UV coordinates and percentage values [14:53]
And it's in here when you can also start playing with some numbers, with whatever you want to do with your gradient, for example, let's say that I will add just 20% more to that X coordinate, which is the red [channel].
/* Gradient from blue to purple horizontally */
// Blue (darkness) on the left, purple (lightness) on the right of the screen
// Adding 20% more light (red) on screen (closer to 1.0 in the x coordinate)
vec3 color = vec3(uv.x + 0.2, 0.0, 1.0);

// Adding 20% more darkness (blue) on screen (closer to 0.0 in the x coordinate)
vec3 color = vec3(uv.x - 0.2, 0.0, 1.0);
And I can see that if I do that, I'm also... I'm pushing that red, I see less of blue, because I'm pushing more of that. What happens if I actually subtract that, then it's the opposite. I see less of it, pushing more blue instead. Yeah, so here's where we can then start thinking about making gradients.
Also we could have done the opposite and have the uv.x... or let's try the uv.y now, so going from bottom to top, and you see that the gradient that we have within this purple it's a little bit different.
/* Gradient from red to purple vertically */
// Red (darkness) at the bottom, purple (lightness) at the top of the screen
vec3 color = vec3(0.5, 0.0, uv.y);

/* Gradient from red to purple horizontally */
// Red (darkness) on the left, purple (lightness) on the right of the screen
vec3 color = vec3(0.5, 0.0, uv.x);

// Adding 50% more light (blue) on screen (closer to 1.0 in the x coordinate)
vec3 color = vec3(0.5, 0.0, uv.x + 0.5);
Let me just go back to the X, so that we see the difference better. Now we see more of the red on the left side, and actually less blue, also now we no longer see more blue, because here we no longer have the uv.x, but a value, and if we would like to then have a little bit more blue in this case, maybe we can start adding a little bit more of that number so that we see more of that spectrum, which was achieving this kind of purple shade.
Mirror effect [16:32]
Let me show you one more tip, if you're making luminosity gradients. And for that, let's just go back to our black to a red gradient, before we leave this topic.
Let's say that when I have my gradient going from darkness to lightness, I want to achieve the opposite, I want to actually start from red to black. Still horizontally, still I want to stay in my X coordinate horizontally, but I want to do the opposite, I want to start from light to darkness. How would I do that? In order to reverse our gradient we can add 1.0, and then subtract that coordinate to that, and as you see on the screen, that's reversing our gradient.
/* Normalize our screen coordinates between 0.0 and 1.0 */
vec2 uv = gl_FragCoord.xy / u_resolution;

/* Gradient from black to red horizontally */
// Black (darkness) on the left, red (lightness) on the right of the screen
// Left side with 0.0 - Right side with 1.0 (x coordinate)
vec3 color = vec3(uv.x, 0.0, 0.0);

/* Gradient from red to black horizontally */
// Red (lightness) on the left, black (darkness) on the right of the screen
// Left side with 1.0 - Right side with 0.0 (x coordinate)
// Mirroring calculation left side: 1.0 - 0.0 = 1.0 (x coordinate changes from 0.0 to 1.0)
// Mirroring calculation right side: 1.0 - 1.0 = 0.0 (x coordinate changes from 1.0 to 0.0)
vec3 color = vec3(1.0 - uv.x, 0.0, 0.0);
Now, let me walk you through what's actually happened mathematically speaking, why if I do 1.0 - uv.x this happens? Why? Let's do the opposite, let's do uv.x - 1.0, and see what happens on my screen, if I do this [subtraction]. Then I see nothing. But why is this happening? Here at the top, I'm going to comment that on the left side I had the coordinate 0.0, and on the right side I have 1.0, because we are using our uv that is in line 18 that is normalizing the screen coordinate between 0 and 1.
Okay, so we know that if I do so, and have my just uv.x, I have darkness on the left, light on the right with 1.0. But if I do this, it's flipping it horizontally, and why is that happening? Because if you do the math here, and think of subtracting 1.0 to that 1.0 coordinate that you had, it's going to give us 0.0. And if I go to the left side and in here I add 1.0 - 0.0 that's going to be equivalent to 1.0, which means that, that's why in the end I'm reversing that coordinate and mirroring, because I no longer have 0 at the left side, but I have 1, and then on the right side I have 0 instead of 1.
And you could apply this same mathematics to the Y coordinate. If I instead use my Y coordinate and I subtract 1.0, it's the same, above in this case.
/* Normalize our screen coordinates between 0.0 and 1.0 */
vec2 uv = gl_FragCoord.xy / u_resolution;

/* Gradient from black to red vertically */
// Black (darkness) at the bottom, red (lightness) at the top of the screen
// Bottom side with 0.0 - Top side with 1.0 (y coordinate)
vec3 color = vec3(uv.y, 0.0, 0.0);

/* Gradient from red to black vertically */
// Red (lightness) at the bottom, black (darkness) at the top of the screen
// Bottom side with 1.0 - Top side with 0.0 (y coordinate)
// Mirroring calculation bottom side: 1.0 - 0.0 = 1.0 (y coordinate changes from 0.0 to 1.0)
// Mirroring calculation top side: 1.0 - 1.0 = 0.0 (y coordinate changes from 1.0 to 0.0)
vec3 color = vec3(1.0 - uv.y, 0.0, 0.0);
Let us just delete first the 1.0 - uv.y, so in here we're going to call it the bottom side, and this is the top side, and when we start, and just so that we wrap our heads around it, I'm going to repeat the process. On the bottom side we have 0.0, and on the top side we have our 1.0 coordinate, that's why it's going from darkness to light. But if I do again 1.0 minus that coordinate, then I can flip the darkness and lightness, because again if I do 1.0 - 0.0 = 1.0, and if I do 1.0 - 1.0 that I had then, that is 0.0. And those are the new coordinates that I have instead, to fill in my gradient.
📝 Course
If you enjoyed this lesson, join the full course including 24 video lessons.
I'm here to guide you through every step of the way in the beginning of your fragment shader journey.